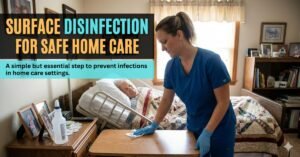
Creating a clean and safe environment is essential when caring for a patient at home. While hospitals follow strict infection prevention protocols, home caregivers must establish their own effective system for cleaning and disinfection.
Germs can survive for hours or even days on frequently touched surfaces, such as bed rails, door handles, mobile phones, or TV remotes. These contaminated surfaces pose a higher risk of infection, especially when a patient is recovering from surgery, dealing with an illness, or has a weakened immune system. Regular disinfection of surfaces plays a vital role in patient safety. By focusing on high-touch areas and adopting a simple routine, caregivers can make the home environment significantly safer.
In this guide, we will explore how to effectively disinfect surfaces at home, which solutions work best, and how to create a routine that benefits both the patient and the caregiver. We will also clarify the important difference between simply cleaning a surface and truly disinfecting it.
1. Why Surface Cleaning and Disinfection is Vital at Home
In a hospital, a patient’s interaction is usually limited to their caregiver and medical staff, and surfaces are professionally sanitized around the clock. At home, the environment is different. Family members share items, move between rooms, and touch the same surfaces repeatedly. This makes it much easier for germs to travel.
For certain individuals, these germs can be particularly dangerous, especially:
- Patients who are recovering from surgery.
- The older people.
- Patients with weakened immune systems.
- Those receiving long-term home care.
- Patients with chronic illnesses.
If a caregiver or patient touches a contaminated surface and then touches their face, a wound, or medical equipment, germs can enter the body. Therefore, consistent cleaning and disinfection help break the chain of infections.
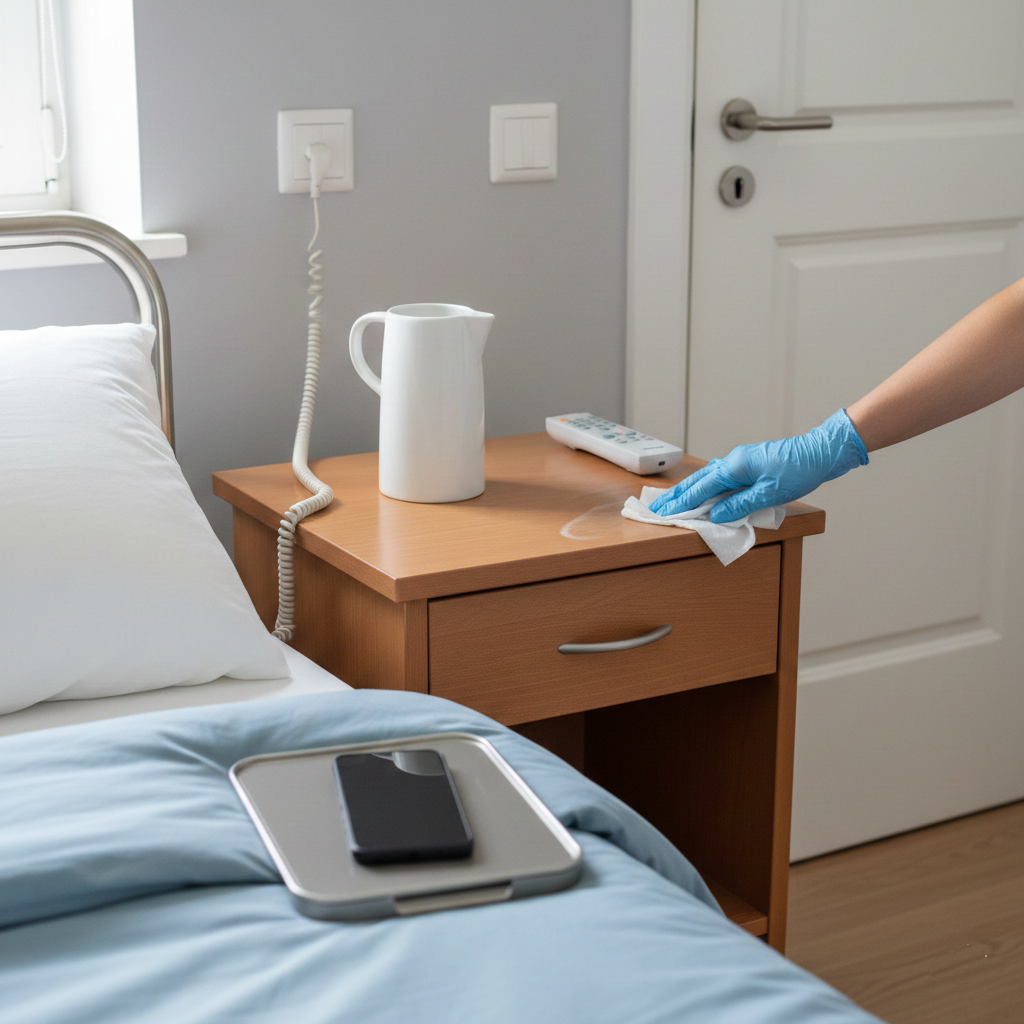
2. Identifying High-Touch Surfaces
Surfaces touched multiple times a day are considered “high-touch” areas. Because they are handled so often, germs accumulate there rapidly. Here are the key areas that require regular attention:
In the Patient’s Room:
- Wheelchair handles and walkers.
- Bed rails and over-bed tables.
- Bedside stands/tables.
- The patient’s phone or call bell.
In the Bathroom:
Moisture and frequent use make bathrooms a breeding ground for germs. Focus on:
- Faucet handles and sink-rims.
- Toilet flush handles.
- Grab bars or support rails.
- Shower handles.
In Common Areas:
Items shared by the whole family must be included in your routine:
- Door handles and light switches.
- TV remotes and mobile phones.
- Refrigerator handles.
3. The Difference Between Cleaning and Disinfection
A common mistake is assuming that the surface is germ-free just because it looks clean. While they are related, cleaning and disinfection are two distinct steps:
- Cleaning: This is the physical removal of dirt, dust, and impurities using soap, water, or general cleaners.
- Disinfection: This involves using specific chemicals to kill bacteria and viruses on surfaces.
Both steps are necessary. Cleaning first removes the “shield” of dirt, allowing the disinfectant to work effectively.
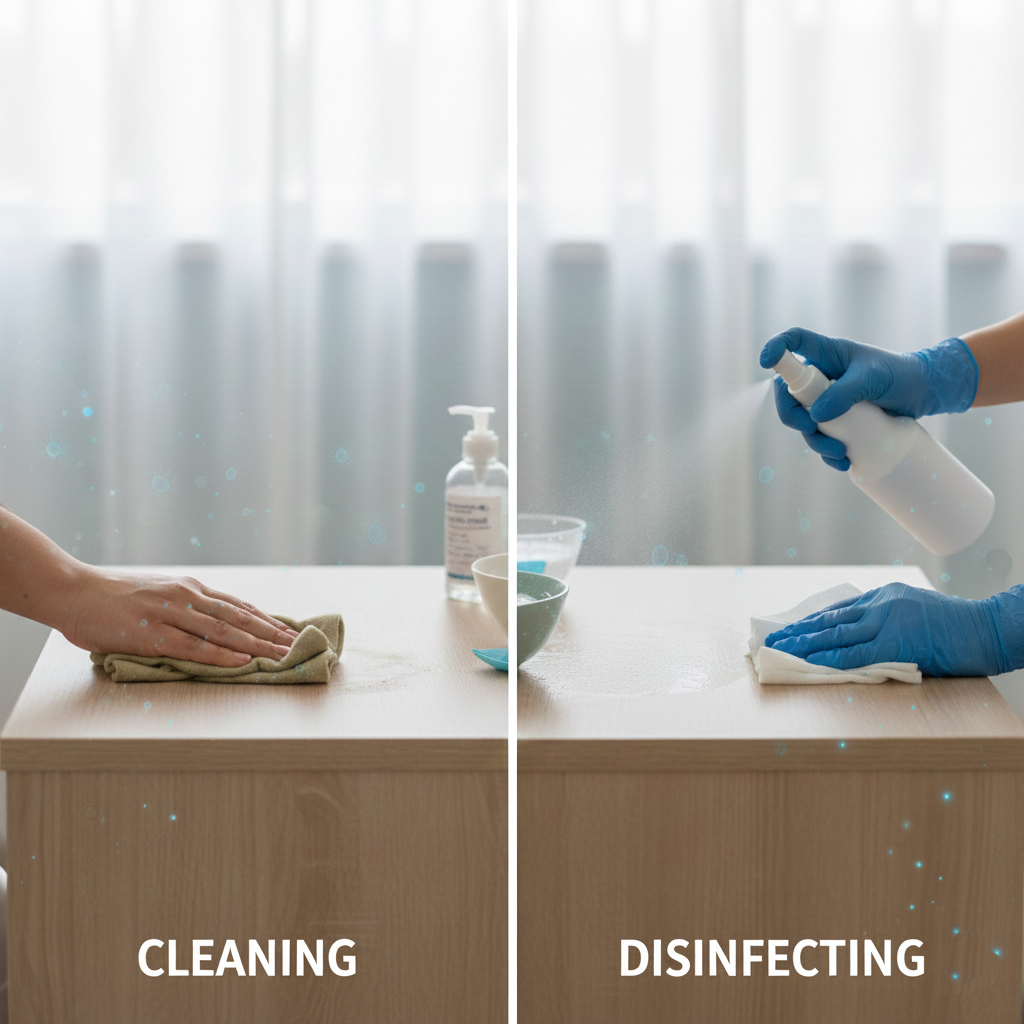
If you skip cleaning, the disinfectant may not reach the germs hidden underneath. Our goal is a surface that is both visibly clean and biologically safe.
To learn more about infection control basics, see our detailed guide:
👉 Basic Care Skills: Hygiene and Infection Control
4. How to Clean Surfaces Properly
Not all disinfectants are suitable for every surface. To ensure effective results, follow a systematic approach based on the type of surface:
- Hard Surfaces (Floors, Trays, Hard Toys): Clean with soap and water. If necessary, use a surface-specific cleaner as per the label instructions.
- Soft Surfaces (Fabric, Carpets, Soft Toys): Use products designed for fabrics. If possible, launder items using the warmest appropriate water setting and dry them completely. Vacuum carpets and rugs regularly, ensuring waste is disposed of properly.
- Electronics: Use alcohol-based wipes (70% isopropyl alcohol) to avoid damaging sensitive components.
Establishing a Regular Routine
Consistency is key to infection control. According to the Centers for Disease Control (CDC), a clear routine makes this task manageable. A caregiver should make the cleaning of high-touch areas—like bed rails, switches, and faucets—a part of their daily schedule. If you are a family caregiver, ensure these tasks do not interrupt the patient’s core care. If the workload becomes too much, do not hesitate to ask another family member for assistance.
When to Perform Extra Cleaning:
Additional cleaning and disinfection are required after:
- Wound care or dressing changes.
- Assisting the patient with toileting.
- Handling medical equipment or bodily fluids.
Weekly Deep Cleaning:
Some areas don’t need daily attention but shouldn’t be ignored. Once a week, focus on:
- Wiping down shelves and tables.
- Cleaning refrigerator handles and cupboards.
- Removing dust from behind furniture.
Situations Requiring Increased Vigilance
You should increase the frequency of your cleaning routine if:
- The patient has a severely weakened immune system.
- Other members of the household are sick.
- The patient has recently returned from a hospital or clinic.
- Guests have visited the patient.
- It is peak season for contagious illnesses (like flu season).
Use Printable Checklists
To stay organized, use ready-made cleaning and disinfection checklists available in our Caregiver Resources – Downloads section. These tools help caregivers maintain consistency and avoid missing important steps.
5. How to Effectively Disinfect Surfaces
According to the National Library of Medicine, while hospital-grade disinfectants might not always be available at home, common household solutions can be highly effective if used correctly.
Alcohol Solutions (70% Alcohol): Ideal for electronics like phones and remotes.
Bleach Solutions: Household bleach diluted with water is excellent for hard surfaces. The CDC notes that properly diluted bleach kills most household germs.
Disinfectant Wipes: Convenient for quick cleaning of door handles and light switches.
Disinfectant Sprays: Useful for larger, frequently used surfaces.
Note: Always use EPA-approved disinfectants and read the product labels carefully for “contact time” (how long the surface must stay wet to kill germs).
Step by Step Procedure:
Step 1: Prepare the Area
Remove clutter, tissue boxes, cups, or items that may block access to the surface.
Step 2: Wear Gloves
Gloves protect your skin from chemicals and prevent cross-contamination.
Step 3: Clean First
Use soapy water or an all-purpose cleaner to remove dirt, dust, or spills.
A clean surface allows disinfectants to work properly.
Step 4: Apply Disinfectant
Spray or wipe the product evenly across the surface. Ensure full coverage.
Step 5: Allow Proper Contact Time
This is the most important step.
Disinfectants must stay wet on the surface long enough to kill germs—usually 1–10 minutes depending on the product.
Step 6: Let It Air Dry
Avoid wiping the surface dry unless the product label instructs otherwise.
Step 7: Dispose of Gloves and Wash Hands
Remove gloves carefully and wash your hands for at least 20 seconds.
Following these steps ensures the surface is truly disinfected and safe for patient use.
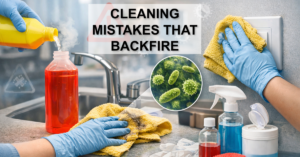
6. Common Mistakes to Avoid
Small errors can lead to big risks. Avoid these common pitfalls:
- Wiping the disinfectant off too quickly: Most chemicals need a few minutes of “dwell time” to kill germs.
- Disinfecting without cleaning: Germs can hide under layers of dirt.
- Cross-contamination: Using the same cloth for multiple surfaces (e.g., cleaning the bathroom and then the kitchen with the same rag).
- Mixing Chemicals:Never mix bleach with ammonia or other cleaners. The Washington State Department of Health warns that this can create highly toxic gases.
7. Safety Guidelines for Caregivers
Protecting yourself is just as important as protecting the patient. When using cleaning chemicals:
- Ventilate: Open windows or turn on a fan to avoid inhaling chemical fumes.
- Protective Gear: Wear gloves when handling strong chemicals. Use eye protection if there is a risk of splashing.
- Hygiene: Avoid touching your face while cleaning and wash your hands thoroughly with soap afterward.
- Pace Yourself:Try the “20/10 technique”20 minutes of focused cleaning followed by a 10-minute rest. This helps prevent caregiver burnout.
If you notice strong odors or irritation, stop immediately and step outside for fresh air.
Conclusion
Surface cleaning and disinfection is a simple yet powerful way to protect a patient from infection at home. By focusing on high-touch areas, using the right products, and maintaining a steady routine, you play a critical role in the patient’s recovery. A clean and safe environment provides peace of mind for the caregiver and a healthier space for the patient to heal.
Use the available printable tools from our Caregiver Resources – Downloads section to make the process easier and more organized.
FAQs
At least once daily, and more often if the patient is high-risk or during illness.
Alcohol-based solutions, diluted bleach, and ready-to-use disinfectant wipes are safe when used correctly.
You can, but effectiveness varies. Household bleach diluted properly is usually reliable.
Cleaning removes dirt, but disinfection kills germs. Both steps are necessary in patient care.
Most products need to remain wet for 1–10 minutes to be effective. Always check the label.
Disclaimer:The information provided in this guide is for educational and informational purposes only and does not constitute professional medical advice. Always seek the advice of a qualified healthcare provider regarding a medical condition.